

 21:32
21:32
 Unknown

Gone are the days of boring and ugly looking switch plates and covers. Today, one can find switch plates and covers in several different styles and designs, as well as materials. In fact, there are switch plates in unique shapes and sizes too.
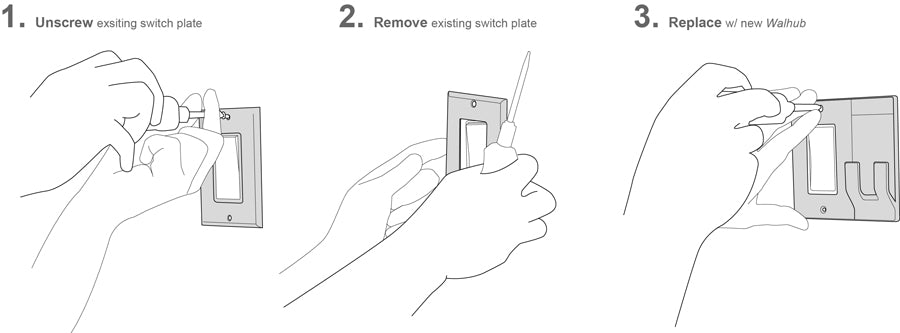
If you have bough
decorative switch plates, learn to install them on your own in 3
simple steps.
- The first thing that you must do when installing textured wall plates or professionally painted switch covers is to turn off the power for the room where you would be installing them. Turning off the power will help reduce the risk of getting shock. Most probably, the breaker box in your home would be labelled otherwise you may call in a professional electrician.
- Now remove the old switch cover. Take out the screws that hold the switch plate in position. Use the right screw driver for removing the screws otherwise the screws would be damaged.
- Once the old switch plate is removed, install the new one. Make sure that you line the switch plate properly as mis-aligned palate would look ugly and would fail to serve its purpose in enhancing the décor of your room. It would be better to leave the screws loose and once you have checked the positioning of the decorative switch plate and you are happy with it, you may tighten all the screws.
Installing decorative switch plates and covers is quite simple. If you learn to do it on
your own, you can save the money that would be charged by a
professional electrician for doing the same.
 Posted in:


0 comments:
Post a Comment